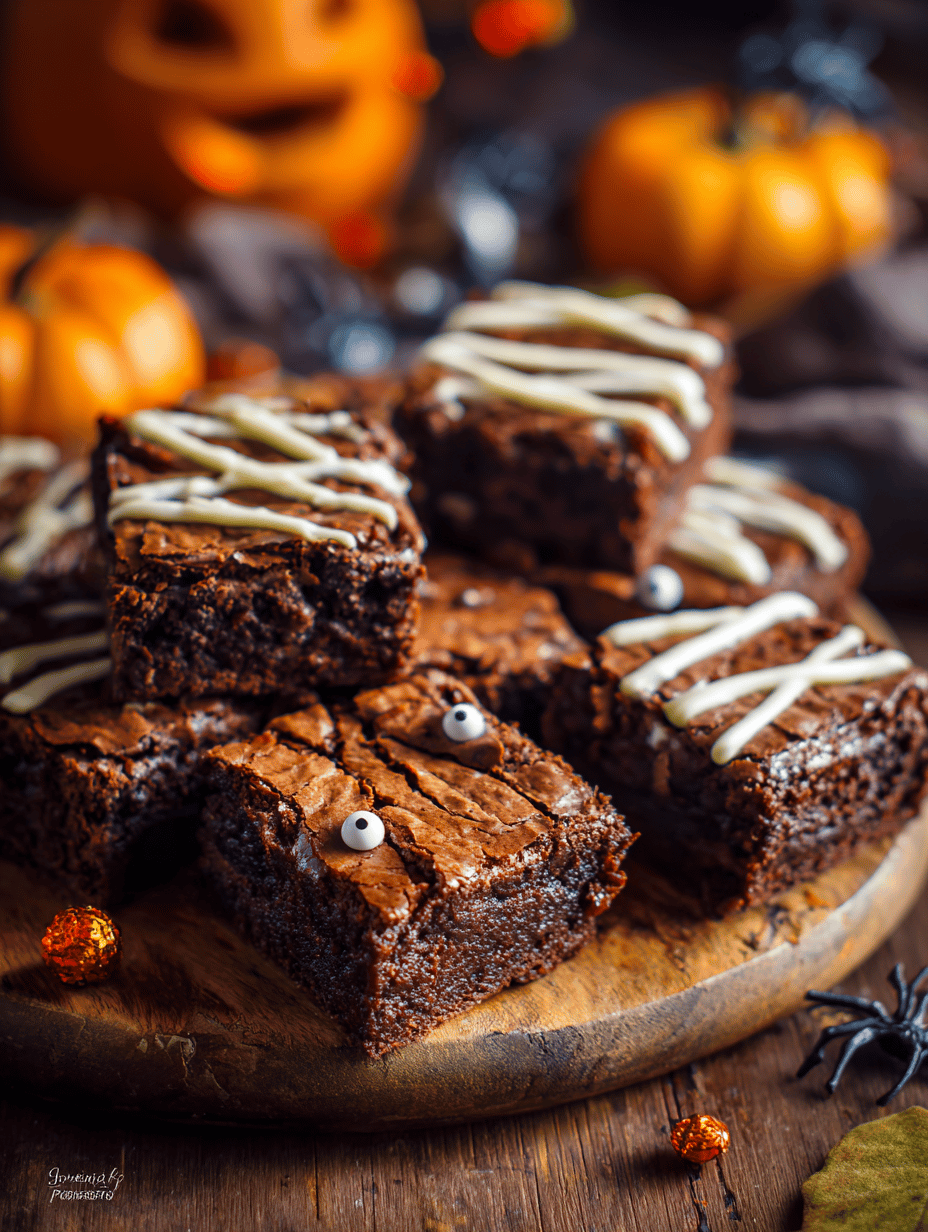
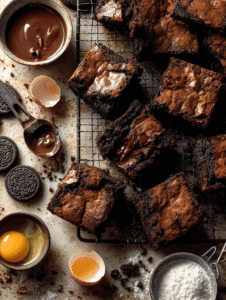
Mummy brownies aren’t just a recipe; they’re a little ritual rooted in childhood chaos. I love how the crispy top gives way to gooey, rich chocolate beneath, like a secret waiting to be uncovered. It’s weird how a simple bake can evoke so much nostalgia, especially in times when comfort is needed most. Baking these feels like a small rebellion against the plain, predictable desserts.
Why I Keep Coming Back to These Brownies
They’re imperfectly perfect—crackly top, gooey center, a bit chaotic. Baking them reminds me of childhood kitchens, where everything was about messy love and sweet chaos. They’re quick to whip up, forgiving, and always a hit when I need a little spoonful of comfort.
Breaking Down the Ingredients
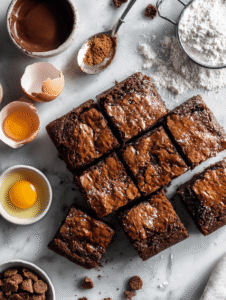
- Dark chocolate: : Rich and intense, it creates that deep chocolate flavor and glossy finish. Swap for semi-sweet if you prefer milder.
- Butter: : Adds moisture and a tender crumb. Salted butter balances the sweetness, but unsalted works too.
- Eggs: : Bind everything together, giving that fudgy texture. Use fresh for best rise.
- Sugar: : Sweetens and helps develop that shiny crust. Brown sugar adds a caramel note if you prefer.
- Flour: : Gives the brownies structure. Consider almond flour for a nutty twist.
- Crushed cookies: : Adds crunch and nostalgia. Graham crackers or digestive cookies are classic.
- Vanilla extract: : Enhances everything with a warm aroma. Vanilla bean paste can elevate the flavor.
Tools & Equipment for Mummy Brownies
- Mixing bowls: To blend the wet and dry ingredients smoothly.
- Saucepan: To melt chocolate and butter gently.
- Parchment paper: To prevent sticking and make lifting out the brownies easier.
- 8-inch square baking pan: To give the brownies their classic shape.
- Wire rack: To cool the brownies evenly without sogginess.
Step-by-Step for Mummy Brownies: Crunch, Melt, and Chill
Step 1: Preheat your oven to 180°C (350°F).
Step 2: Line a 20cm (8-inch) square baking pan with parchment paper.
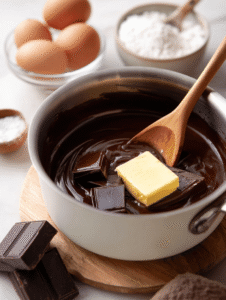
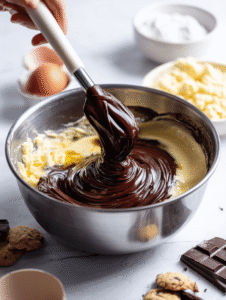
Step 3: Melt 200g of dark chocolate and 125g of butter together until smooth.
Step 4: In a separate bowl, whisk 3 eggs with 150g of sugar until slightly frothy.
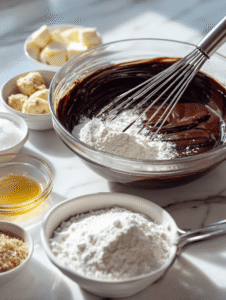
Step 5: Combine the melted chocolate mixture with the eggs and sugar, then fold in 100g of flour.
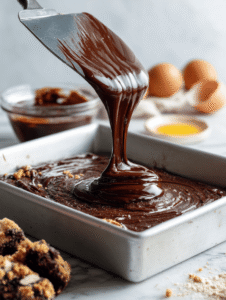
Step 6: Pour the batter into the prepared pan, spreading evenly.
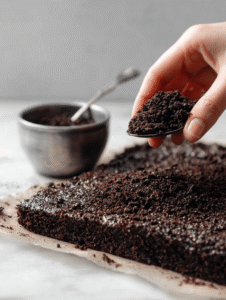
Step 7: Sprinkle a handful of crushed graham crackers or cookies on top for that nostalgic crunch.
Step 8: Bake for 25-30 minutes, or until the edges are set but the center still jiggles slightly.
Step 9: Let it cool in the pan for 15 minutes, then transfer to a wire rack.
Step 10: Slice and serve once fully cooled, enjoying the contrast of crunch and goo.
Cooking Checkpoints & Tips for Success
- Brownie edges should be firm and slightly crackly when done.
- Center jiggle indicates a gooey, fudgy interior—don’t overbake.
- A faint chocolate aroma signals it’s nearly ready.
- Use a toothpick to check doneness; a few moist crumbs are perfect.
Common Mistakes & How to Fix Them
- Leaving brownies in too long.? OVERBaking leads to dry brownies; remove from oven when edges are set.
- Not baking long enough.? Underbaking makes them too gooey; bake a few minutes longer.
- Adding eggs straight from the fridge.? Using cold eggs causes lumps; whisk eggs well before adding.
- Over-processing toppings.? Crushing cookies too finely; leave some chunks for texture.
Mummy Brownies
Ingredients
Equipment
Method
- Preheat your oven to 180°C (350°F) and line an 8-inch square baking pan with parchment paper, leaving some overhang for easy removal.
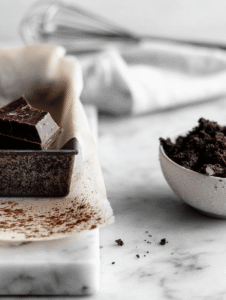
- Chop the dark chocolate into small pieces and melt it together with the butter in a saucepan over gentle heat, stirring until smooth and glossy. The aroma of rich chocolate will fill your kitchen as it melts.
- In a large bowl, whisk the eggs and sugar together until the mixture becomes slightly frothy and pale, about 2-3 minutes. This helps incorporate air for a tender crumb.

- Pour the melted chocolate and butter mixture into the egg mixture, gently folding until well combined and smooth, releasing a rich chocolate scent.
- Stir in the vanilla extract if using, then sift the flour over the batter and fold it in gently until just incorporated, avoiding overmixing to keep the brownies tender.
- Pour the batter into the prepared pan, spreading it evenly with a spatula. The batter should be thick but spreadable, with a glossy finish.
- Sprinkle a handful of crushed cookies evenly over the top, pressing them slightly into the batter to ensure they stick during baking and add that nostalgic crunch.
- Bake the brownies for about 25-30 minutes, until the edges are set and slightly crackly, but the center still jiggles when gently shaken. The house will fill with a deep chocolate aroma.
- Remove the pan from the oven and let it cool in the pan for 15 minutes. This helps the brownies set and develop their chewy, gooey texture.

- Transfer the brownies to a wire rack using the parchment overhang and allow them to cool completely. As they cool, the crackly top will become firm, contrasting with the soft interior.

- Slice into squares and enjoy the perfect balance of crispy top and gooey, fudgy center—best served with a glass of milk or your favorite cold beverage.