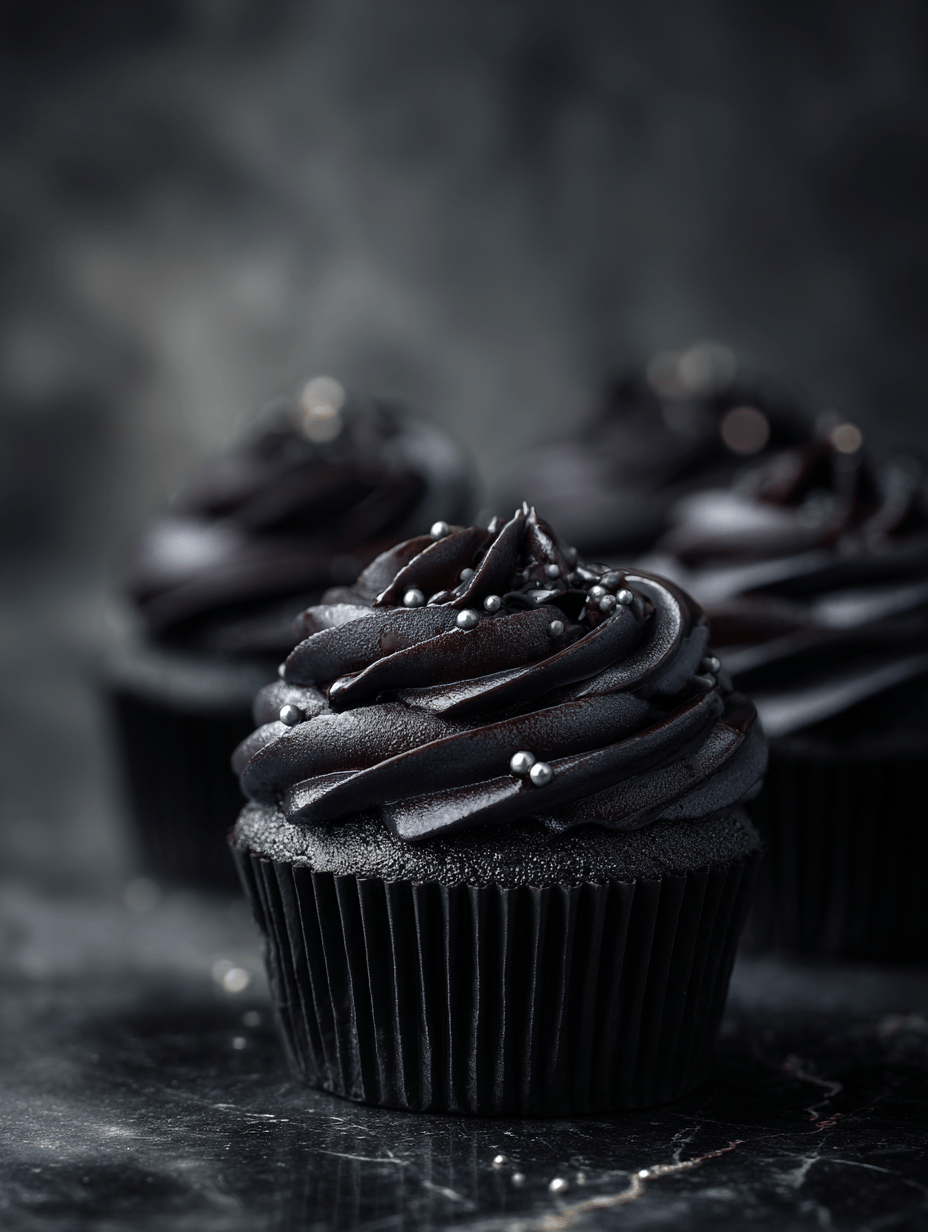
Black velvet cupcakes are my go-to when I want something a little different but still familiar. There’s a quiet elegance in their dark hue, a hint of mystery that makes them stand out. I love how the vinegar in the recipe creates a tender crumb, almost velvety in texture, without overpowering the chocolate. It’s a humble, honest treat that always draws a little extra attention.
Why I Keep Coming Back to This Recipe
These cupcakes remind me of childhood gatherings, but they’re also perfect for grown-up decadence. Their quiet elegance makes them special without fuss. I keep returning because they’re forgiving, and the flavor—dark, chocolatey, with a whisper of tang—never fails to satisfy.
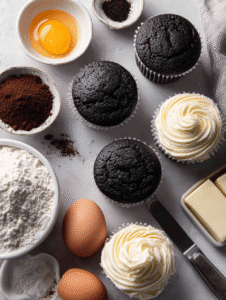
Breaking Down the Ingredients
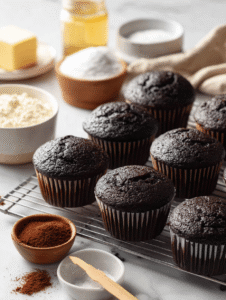
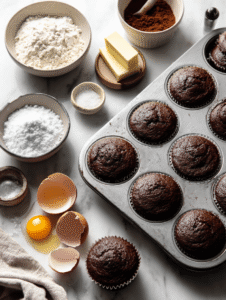
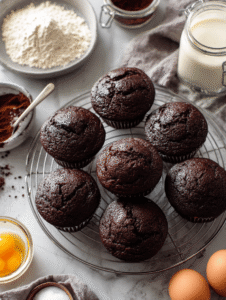
- All-purpose flour: The backbone, providing structure. Use unbleached for a richer flavor.
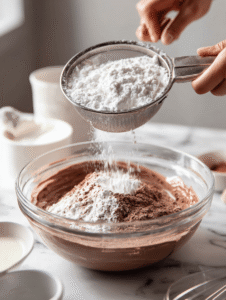
- Cocoa powder: Deepens the chocolate flavor, makes the batter oozy and smoky.
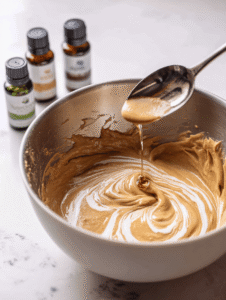
- Vinegar: A splash of apple cider vinegar adds brightness and tenderizes.
- Buttermilk: Keeps the crumb moist and tender, a subtle tang that balances the sweetness.
- Butter: Creamed in until fluffy, it’s the base for richness.
- Sugar: Sweetens and helps create a tender crumb.
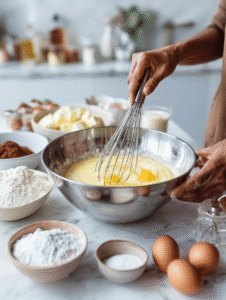
- Eggs: Bind the batter, add moisture, and lift the cupcakes.
Tools of the Trade for Perfect Cupcakes
- Mixing bowls: For combining wet and dry ingredients.
- Electric mixer: Creaming butter and sugar smoothly.
- Muffin tin: Holds the cupcake liners securely.
- Paper liners: Prevents sticking and makes for easy cleanup.
- Toothpick or cake tester: Check doneness.
Step-by-Step: Crafting the Perfect Black Velvet Cupcakes
Step 1: Preheat your oven to 180°C (350°F).
Step 2: Line a muffin tin with paper liners.
Step 3: In a bowl, sift together the flour, cocoa powder, baking soda, and salt.
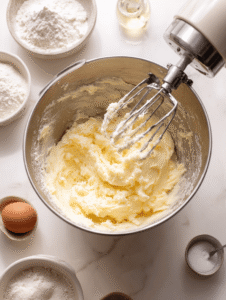
Step 4: In a separate large bowl, beat the butter and sugar until light and fluffy, about 3 minutes.
Step 5: Add eggs one at a time, beating well after each.
Step 6: Mix in the vanilla extract.
Step 7: Alternate adding the dry ingredients and buttermilk, starting and ending with dry ingredients.
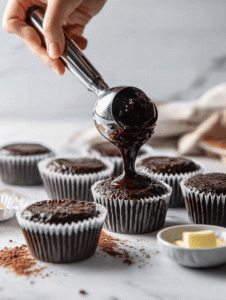
Step 8: Divide the batter evenly among the liners, filling each about 2/3 full.
Step 9: Bake for 20-25 minutes, until a toothpick inserted in the center comes out clean.
Step 10: Let the cupcakes cool in the tin for 10 minutes, then transfer to a wire rack to cool completely.
Cooking Checks & Tips to Nail It
- The cupcake tops should be firm and slightly cracked, not shiny or wet.
- A toothpick inserted should come out clean, with no moist batter.
- The edges should pull slightly away from the liner for a perfect finish.
- The crumb should be moist, not dense or dry.
Common Pitfalls & How to Fix Them
- Overmixing the batter.? Use a lighter touch when mixing to avoid dense cupcakes.
- Cupcakes sinking in the middle.? Ensure oven is properly preheated for even baking.
- Overbaking leading to dry cupcakes.? Check oven temperature with an oven thermometer.
- Flat or dull-tasting cupcakes.? Use fresh ingredients to keep flavors vibrant.
Black Velvet Cupcakes
Ingredients
Equipment
Method
- Preheat your oven to 180°C (350°F) and line a muffin tin with paper liners.
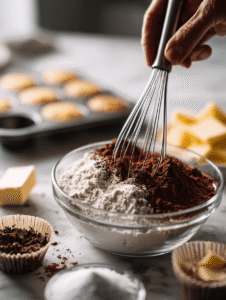
- Sift together the flour, cocoa powder, baking soda, and salt in a bowl to combine evenly.

- In a separate large bowl, beat the softened butter and sugar with an electric mixer until the mixture is light, fluffy, and slightly pale, about 3 minutes, and you hear gentle creaming sounds.
- Add eggs one at a time, beating well after each addition, until the mixture is smooth and slightly increased in volume.
- Stir in the vanilla extract and apple cider vinegar, combining until just incorporated.
- Alternately add the dry ingredients and buttermilk to the wet mixture, starting and ending with the dry ingredients. Mix gently just until each addition is combined, being careful not to overmix.
- Divide the batter evenly among the prepared liners, filling each about two-thirds full. The batter should be smooth and slightly glossy.
- Bake in the preheated oven for 20 to 25 minutes, or until a toothpick inserted into the center comes out clean and the tops are slightly cracked and firm to the touch.
- Remove the cupcakes from the oven and let them cool in the tin for about 10 minutes, until they are just warm and slightly set.
- Transfer the cupcakes to a wire rack and allow them to cool completely, their dark, velvety surface becoming matte and inviting.
- Once cooled, they are ready to be frosted or enjoyed plain, showcasing their rich color and tender crumb.