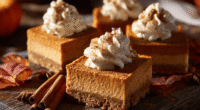
Baking haunted house cookies is a little ritual of mine when October hits. It’s an excuse to get a little creative with chocolate, and to make something both creepy and cute, perfect for kids and adults alike. The best part? They’re simple enough to whip up in under an hour, but look like you spent ages fussing.
Why haunted house cookies keep calling me back
They’re imperfectly perfect, with cracked tops and slightly crooked eyes. Every batch feels like a little magic, especially when the chocolate eyes melt just right. Plus, they’re easy to adapt—add a dash of cinnamon or sprinkle sea salt on top for a grown-up twist.
Breaking down the spooky good stuff
- Butter: Gives richness and helps cookies spread just right. Use unsalted for control.
- Sugar: Provides sweetness and helps with browning. Brown sugar adds a chewy texture.
- Egg: Binds everything together, adding moisture. Use a fresh large egg.
- Vanilla extract: Deepens flavor with a warm, sweet aroma. Don’t skip it.
- All-purpose flour: Forms the structure. Sift for a lighter crumb.
- Baking soda: Leavening agent. Just enough to give a slight rise.
- Chocolate chips or candies: For the creepy eyes. Dark chocolate melts beautifully, but candies are easier.
Tools of the spooky trade
- Mixing bowls: Stir and combine the ingredients.
- Electric mixer or whisk: Cream the butter and sugar.
- Baking sheet: Bake the cookies evenly.
- Parchment paper: Prevent sticking and makes cleanup easier.
- Cooling rack: Cool cookies quickly and prevent sogginess.
Step-by-step for spooky, crunchy, and chewy haunted house cookies.
Step 1: Preheat your oven to 180°C (350°F).
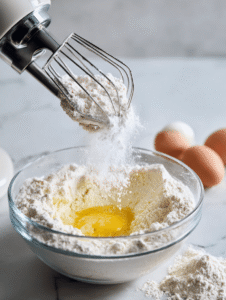
Step 2: In a mixing bowl, cream together 1 cup of softened butter and 1 cup of sugar until light and fluffy, about 3-4 minutes.
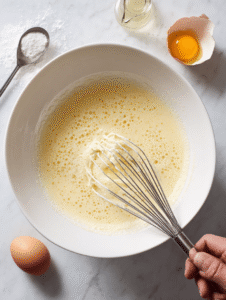
Step 3: Add 1 egg and 1 teaspoon vanilla extract, mix until smooth.
Step 4: Gradually mix in 2 cups of all-purpose flour, 1/2 teaspoon baking soda, and a pinch of salt.
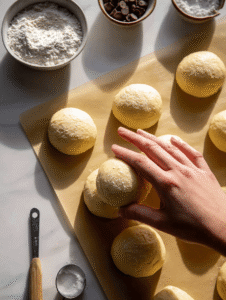
Step 5: Divide dough into small balls, about the size of a walnut.
Step 6: Place on a baking sheet lined with parchment paper, leaving space for spreading.
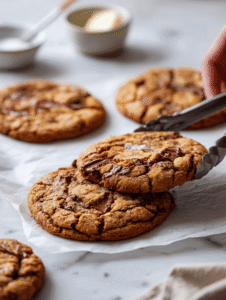
Step 7: Bake for 10-12 minutes, until edges are golden.
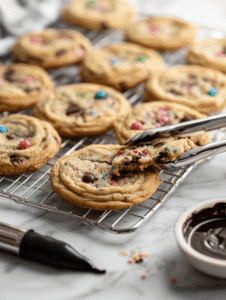
Step 8: Let cookies cool on a wire rack for 10 minutes.
Cooking checkpoints and tips to keep your haunted house cookies perfect.
- Edges should be golden and firm; don’t overbake or they’ll turn hard.
- Cookies should crack slightly on top, revealing a chewy center.
- Chocolate eyes should be melty but not burnt—check at 10 minutes.
- If cookies spread too much, chill the dough for 15 minutes before baking.
Avoid common baking boo-boos with these quick fixes
- Cookies spread too much.? Use too much butter? Reduce to 3/4 cup for crisp edges.
- Under-baked centers.? Cookies are too pale? Bake for an extra 2 minutes.
- Eyes smudging or running.? Chocolate eyes melted too much? Chill before placing.
- Dough sticking to your hands.? Dough too sticky? Chill for 15 minutes or add a bit more flour.
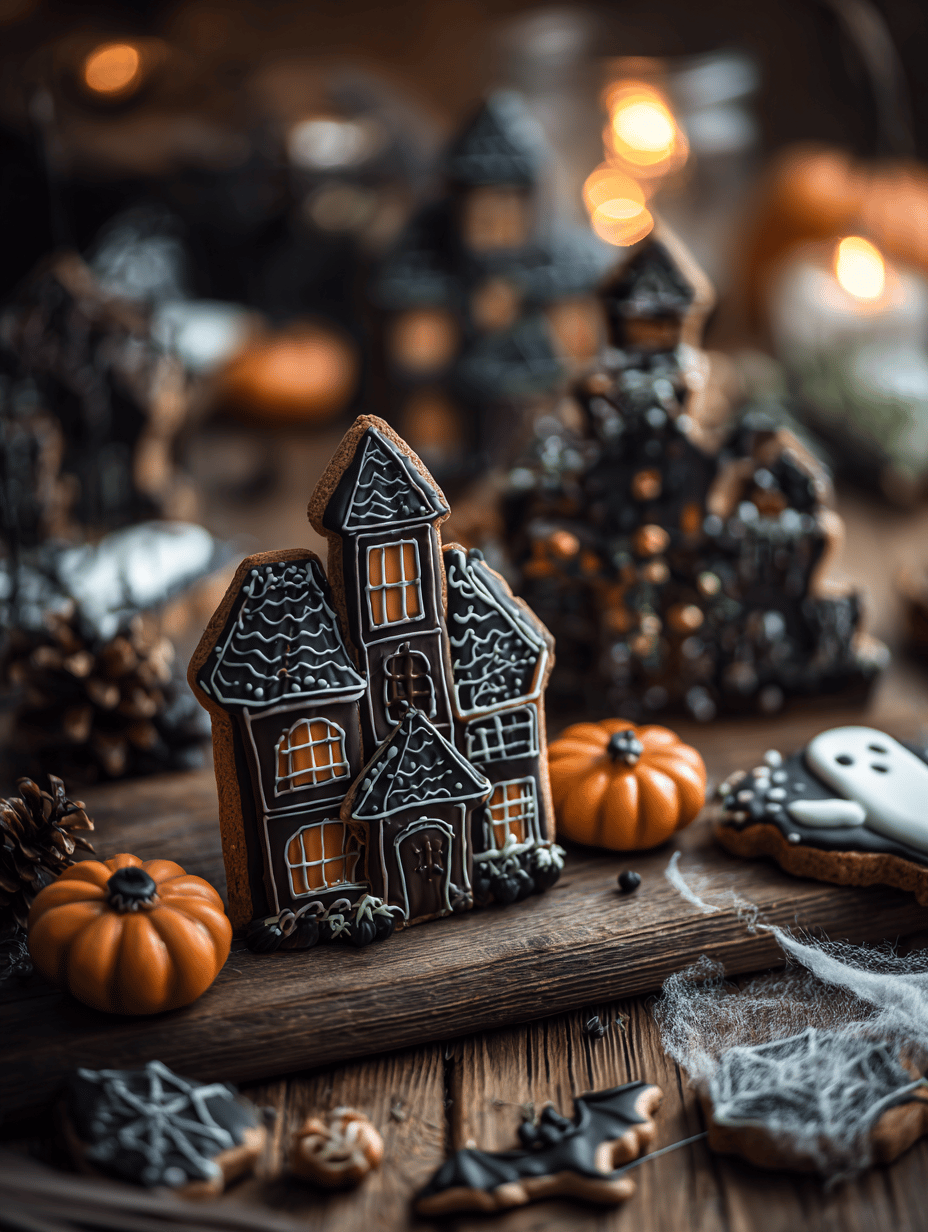
Haunted House Cookies
Ingredients
Equipment
Method
- Preheat your oven to 180°C (350°F) and line a baking sheet with parchment paper.
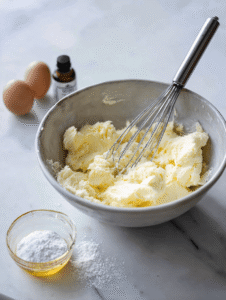
- In a large mixing bowl, cream together the softened butter and sugar using an electric mixer or whisk until the mixture is light, fluffy, and slightly pale—about 3-4 minutes. You’ll notice a gentle sound of whirling and a creamy texture forming.

- Add the egg and vanilla extract to the creamed mixture, then beat until fully incorporated and smooth, about 30 seconds. This will add moisture and deepen the aroma of your dough.
- Gradually add the sifted flour, baking soda, and salt to the wet ingredients, mixing on low speed or folding gently until the dough comes together. It should be soft but not sticky.
- Using your hands or a spoon, divide the dough into small balls about the size of a walnut. This helps the cookies spread evenly and gives a nice rustic shape.

- Place the dough balls on the prepared baking sheet, leaving enough space between each for spreading. Gently flatten them just a bit with your fingers if you prefer a slightly wider cookie.
- Bake the cookies in the preheated oven for 10-12 minutes, or until the edges are golden brown and the tops are cracked. The smell should be warm and inviting, with a slight crispness forming around the edges.

- Once baked, remove the cookies from the oven and let them cool on the baking sheet for about 10 minutes. They will firm up and develop a beautiful crackled top.
- Transfer the cooled cookies to a wire rack to cool completely. This step prevents sogginess and ensures they stay crisp around the edges.
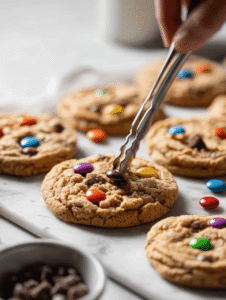
- Gently press a chocolate chip or candy into each cookie to create creepy eyes. If the eyes melt too much, chill the cookies briefly before adding the chocolates to prevent smudging.
- Serve your haunted house cookies once the chocolate eyes are set. They’re perfectly imperfect with cracked tops and melting eyes, ready to delight both kids and adults alike!


