
There’s something about baked nachos that feels like a warm blanket on a chilly evening. It’s honest, straightforward comfort food, the kind that makes you pause and savor every cheesy, crispy bite. I’ve always loved how simple ingredients—tortilla chips, cheese, a few extras—can come together into something so satisfying.
This recipe isn’t about fancy techniques or perfect presentation. It’s about embracing the chaos of melting cheese and crispy edges, and finding joy in those imperfect, gooey moments. Whether it’s for a casual weeknight dinner or a laid-back gathering, baked nachos have a way of turning any moment into a small celebration of homey flavors.
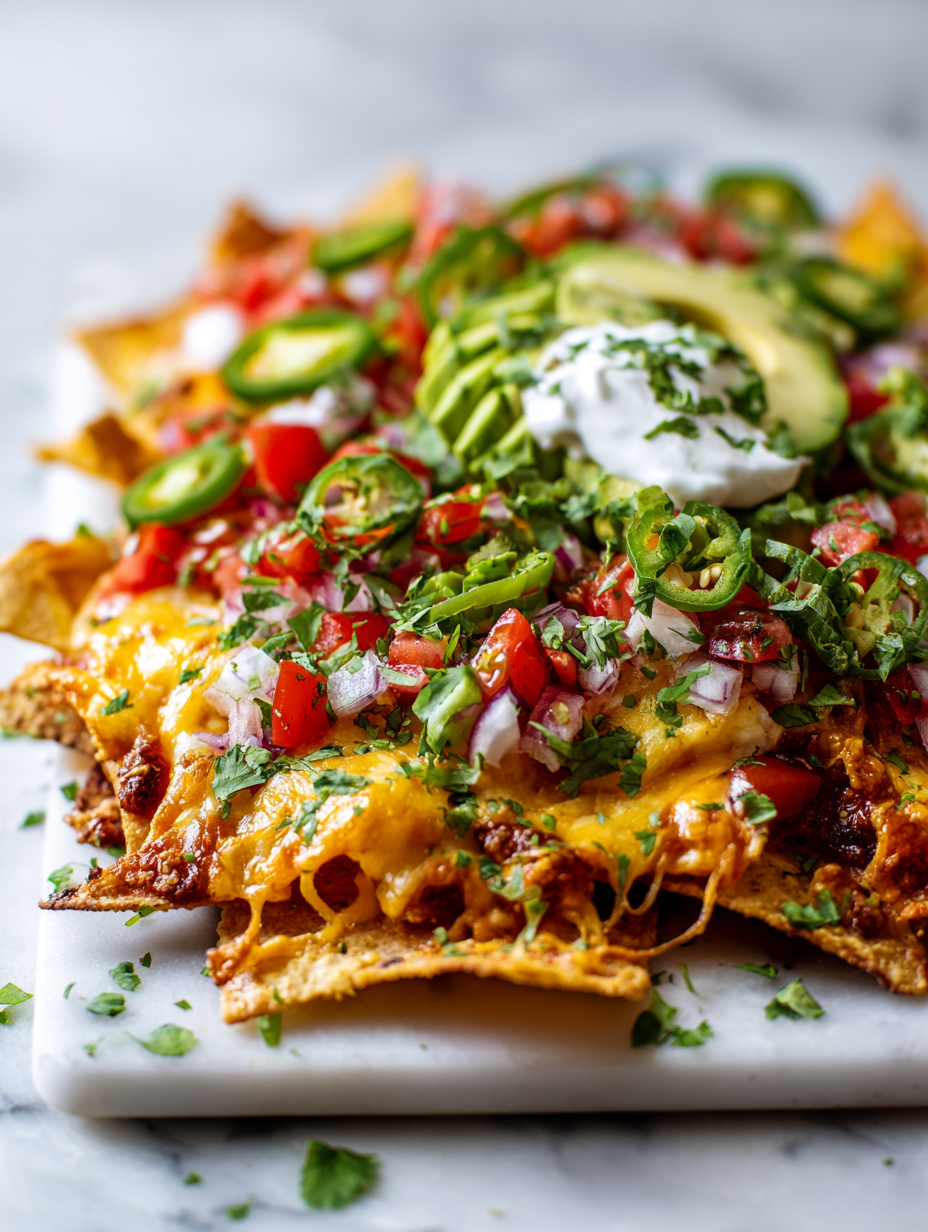
Focusing on the comfort and nostalgia of homemade baked nachos, this recipe emphasizes simple techniques and honest flavors, perfect for cozy nights or casual gatherings, making it feel like a warm hug in snack form.
The story behind this recipe
- I first came across baked nachos during a late-night kitchen scramble. The idea of melting cheese over crispy chips without too much fuss just stuck with me. It was one of those moments where simple ingredients made something unexpectedly comforting.
- I remember a particular rainy evening, the smell of melted cheese mingling with the crispness of toasted chips, feeling like a cozy secret in my own kitchen. It’s become my go-to for lazy weekends and spontaneous snack attacks.
- Over time, I’ve tweaked this recipe to include my favorite toppings, but the core—cheese, crunch, and a little heat—remains the same. It’s honest food, made with whatever I’ve got handy, and that’s what keeps it real.
Ingredient breakdown
- Corn tortilla chips: I prefer sturdy, thick chips that hold up to the cheese without sogging out—look for ones with a nice crunch and a hint of corn flavor. Feel free to try multigrain for a nuttier note.
- Cheddar cheese: Sharp cheddar melts beautifully and adds a rich, tangy flavor. If you want a milder taste, blend in some Monterey Jack—just make sure it melts smoothly and gives that oozy texture.
- Cooked ground beef: I like to season my beef well—paprika, cumin, a dash of chili powder—then cook until browned and fragrant. Skip it if you’re veg, but a sprinkle of smoky beans can be a good stand-in.
- Sour cream: Adds a cool, tangy contrast. If you want to skip dairy, a dollop of Greek yogurt works almost the same but with a slightly tangier bite—add just before serving to keep it fresh.
- Fresh cilantro: Brightens everything up with a herbal punch. If you’re not a fan, chopped green onions or a squeeze of lime can also lift the flavors and add freshness.
- Jalapeños: I love the fiery kick they bring, especially when sliced thin and scattered on top before baking. For milder heat, pickled peppers are a tangy alternative that won’t overpower.
- Additional toppings (optional): Black beans, chopped tomatoes, or sliced olives—these add texture and contrast. Use what you have, but don’t skip the cheese—it’s the glue that makes this dish.
Spotlight on key ingredients
Corn tortilla chips:
- I prefer sturdy, thick chips that hold up to the cheese without sogging out—look for ones with a nice crunch and a hint of corn flavor. Feel free to try multigrain for a nuttier note.
- Cheddar cheese: Sharp cheddar melts beautifully and adds a rich, tangy flavor. If you want a milder taste, blend in some Monterey Jack—just make sure it melts smoothly and gives that oozy texture.
Cheddar cheese:
- Sharp cheddar melts beautifully and adds a rich, tangy flavor. If you want a milder taste, blend in some Monterey Jack—just make sure it melts smoothly and gives that oozy texture.
- ingredient
Notes for ingredient swaps
- Dairy-Free: Use vegan cheese shreds or a cashew-based cheese sauce. Expect a slightly different melt and flavor, but still creamy.
- Low-Sodium: Opt for unsalted chips and cheese, then season your toppings with extra herbs and spices to boost flavor.
- Gluten-Free: Make sure to choose certified gluten-free tortilla chips. The flavor stays true, but check for cross-contamination if sensitive.
- Vegetarian: Skip the meat and add more beans, diced peppers, or mushrooms for added texture and umami.
- Spicy Kick: Swap fresh jalapeños for pickled peppers or hot sauce. Keeps the heat but varies the brightness and tang.
- Extra Creaminess: Use Greek yogurt instead of sour cream for a tangier, thicker topping. Keep it chilled for freshness.
- Crunch Factor: For extra crispy chips, toast them lightly in the oven for 5 minutes at 180°C (350°F) before layering.
Equipment & Tools
- 9×13 inch baking dish: To hold the layered nachos for baking evenly.
- Large spoon or spatula: For spreading chips and toppings smoothly.
- Sharp knife: To chop toppings like cilantro, green onions, or jalapeños.
- Oven: To bake the nachos until cheese is melted and bubbly.
Step-by-step guide to baked nachos
- Preheat your oven to 200°C (390°F). Use a 9×13 inch (23×33 cm) baking dish. Gather a large spoon or spatula for spreading and a sharp knife for chopping toppings.
- Layer the chips: Spread a generous layer of sturdy tortilla chips evenly across the baking dish, covering the entire bottom. Aim for a single, even layer to ensure uniform crispiness.
- Add cheese: Sprinkle shredded sharp cheddar generously over the chips—cover all in sight for gooey, cheesy goodness. Don’t be shy; cheese is the star.
- Distribute toppings: Scatter cooked ground beef, sliced jalapeños, and any other toppings like black beans or chopped tomatoes evenly over the cheese. Press lightly to embed them.
- Bake: Place in the oven on the middle rack. Bake for 10-15 minutes, or until the cheese is melted and bubbly, edges are golden, and toppings are heated through. The smell of melted cheese should fill your kitchen.
- Finish with fresh herbs: Remove from oven and sprinkle chopped cilantro or green onions on top. Give it a gentle toss or let everyone serve themselves.
- Serve immediately: Let it rest for 2 minutes—just enough for the cheese to settle but not enough to lose the crispy edges. Serve straight from the dish, with dollops of sour cream and a squeeze of lime if desired.
Let the baked nachos rest for 2 minutes to allow cheese to set. Garnish with fresh herbs and serve directly from the dish, with sides like sour cream or salsa if you like.
How to Know It’s Done
- Cheese should be fully melted and bubbly, with golden edges.
- Toppings should be heated through and fragrant—look for slight charring on some chips for crunch.
- The dish should smell rich, cheesy, with a hint of spice from jalapeños and savory toppings.
Baked Nachos
Ingredients
Equipment
Method
- Preheat your oven to 200°C (390°F). Gather all your ingredients and prepare your baking dish.
- Spread a layer of sturdy tortilla chips evenly across the bottom of your 9x13 inch baking dish, creating a solid base for the toppings.
- Sprinkle a generous layer of shredded cheddar cheese over the chips, covering them completely for gooey, cheesy goodness.
- Distribute the seasoned cooked ground beef evenly over the cheese, pressing down lightly so it embeds into the cheese.
- Scatter sliced jalapeños and any other optional toppings like beans or tomatoes across the dish, spreading them out evenly.
- Place the dish in the preheated oven and bake for 10-15 minutes, or until the cheese is melted, bubbly, and edges are golden brown.
- Remove from the oven and sprinkle chopped cilantro over the top for a fresh, herbal finish.
- Serve hot, topped with dollops of sour cream and a squeeze of lime if desired, for a creamy, tangy contrast.
Tips for perfect baked nachos
- Bolded mini-head: Use a hot oven → Ensures cheese melts quickly and edges crisp up nicely.
- Bolded mini-head: Layer chips evenly → Prevents sogginess and guarantees each bite has cheese and toppings.
- Bolded mini-head: Watch cheese closely → Remove when bubbly and golden, not burnt or greasy.
- Bolded mini-head: Add toppings midway → Keeps jalapeños and herbs fresh and vibrant after baking.
- Bolded mini-head: Use parchment paper → Makes cleanup easier and prevents sticking or burning on the dish.
- Bolded mini-head: Broil briefly at the end → Brightens the cheese with a quick, crispy top—just keep an eye on it.
- Bolded mini-head: Rest before serving → 2-minute pause allows cheese to set and prevents slides when scooping.
Common mistakes and how to fix them
- FORGOT to preheat oven → Always preheat for even melting and crispy edges.
- DUMPED too much cheese → Use a generous but balanced amount for gooey perfection.
- OVER-TORCHED chips → Remove once edges are golden and cheese is bubbling, not burnt.
- MISSED layering steps → Layer ingredients evenly for consistent flavor and texture.
Quick fixes and pantry swaps
- If cheese isn’t melting, splash a little milk over it and bake for 2 more minutes.
- When chips soggy, quickly broil for 3-4 minutes to crisp edges and revive crunch.
- Patch burned cheese with a sprinkle of fresh cheese and a quick bake—crisp again in 2 minutes.
- When toppings slide off, press them gently into melted cheese to re-anchor and reheat evenly.
- If lacking fresh herbs, use a pinch of dried cilantro or green onion powder for flavor and color.
Prep, store, and reheat tips
- Prep toppings like sliced jalapeños, chopped cilantro, and cooked beans ahead of time. Keep in airtight containers in the fridge for up to 2 days. The flavors meld nicely, and it saves time during assembly.
- Assemble the layered nachos up to a day in advance. Cover tightly with plastic wrap and store in the fridge. The chips may soften slightly, but the cheese and toppings stay fresh for reheating.
- Refrigerate any leftover baked nachos in an airtight container for up to 2 days. The cheese might congeal, but a quick reheat restores gooeyness and crispness.
- Reheat in a 180°C (350°F) oven for 10 minutes or until bubbling and hot. For a quicker fix, microwave in 30-second bursts, but expect softer chips and less crunch—look for a crackling sound and fragrant cheese when ready.
Top questions about baked nachos
1. What type of chips work best?
Use sturdy, thick chips that won’t sog out easily. They hold up well under melted cheese and toppings.
2. How do I know when it’s done?
Bake until the cheese is fully melted, bubbling, and edges are golden. Usually about 10-15 minutes at 200°C (390°F).
3. Can I add toppings before or after baking?
Sprinkle fresh herbs or sliced jalapeños after baking. Reheating can soften toppings, so add fresh stuff last.
4. Can I prepare baked nachos ahead?
Yes, you can prepare the layered nachos a day ahead, cover tightly, and bake when ready. Expect chips to soften slightly.
5. How do I reheat leftovers?
Reheat in a 180°C (350°F) oven for about 10 minutes until bubbly. Microwave for quicker but softer results.
6. What are good dairy-free substitutes?
Dairy-free options include vegan cheese or cashew sauces, but expect a different melt and slightly altered flavor.
7. Can I make it gluten-free?
Use gluten-free certified chips if needed. They behave similarly, but always check labels for cross-contamination.
8. What toppings can I add?
Toppings like beans, tomatoes, and peppers add flavor and texture. Don’t skip the cheese—it’s the glue.
9. How can I make the chips crunchier?
For extra crunch, toast the chips lightly in the oven before layering. It boosts crispness and flavor.
10. What if my cheese isn’t melting?
If cheese isn’t melting well, increase oven temp slightly or bake a bit longer. Keep an eye to avoid burning.
Baked nachos might seem simple, but they carry a lot of comfort and nostalgia in every crispy, cheesy bite. This dish feels like a quick escape to a casual, cozy moment, especially now when we crave easy, honest food. It’s a reminder that the best snacks are those made with a little chaos and a lot of heart.
In the end, it’s about the imperfect, gooey magic that turns humble ingredients into a small celebration. Whether you’re sharing with friends or enjoying solo, these nachos bring a little warmth and a lot of flavor—no fuss needed. Just a tray, some cheese, and a moment to enjoy the simple pleasure of good, honest food.

