
Ingredients
Equipment
Method
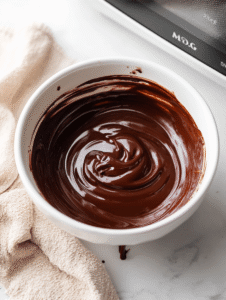
- Start by melting your chocolate in a double boiler or microwave-safe bowl until smooth and shiny—this should take about 2-3 minutes in the microwave, stirring every 30 seconds to prevent burning.
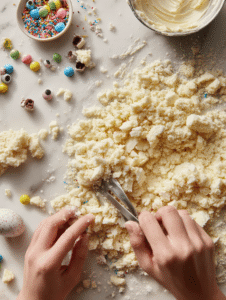
- Crumb your leftover cake finely with your hands or a fork, breaking it down into small, even pieces that feel crumbly but hold together when pressed.
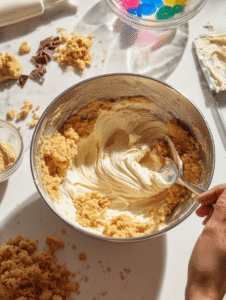
- Mix in the frosting gradually until the mixture becomes a soft, moldable dough that sticks together when pressed—this helps it hold shape when formed into balls.
- Shape the mixture into small balls about the size of a walnut, then place them on a parchment-lined tray and pop into the freezer for 15-20 minutes to firm up.

- Once chilled, melt a bit more chocolate if needed. Dip the tip of a lollipop stick into the melted chocolate and insert it carefully into each cake ball, about halfway through—this acts as a glue.

- Dip each cake pop into the melted chocolate, swirling gently to coat evenly. Tap off excess and immediately decorate with sprinkles or place edible eyes before the coating sets.

- Set the decorated cake pops upright in a styrofoam block or cake pop stand to dry and set fully, which takes about 30 minutes. You can add extra details with icing or edible markers once dry.

- Check that the chocolate coating is crisp and shiny, and that decorations are secure. If the coating is sticky, give the pops more time to dry.

Notes
For best results, use high-quality chocolate and work in a cool, dry environment. Feel free to get creative with your decorations—eyes, faces, or spooky patterns make these cake pops extra fun!